5 Essential Steps for Using a Beer Line Cleaning Kit from Scott Frank's blog
Tasting a well-crafted and perfectly chilled lager from your homemade tap is among life's simplest joys. Every cleaning is necessary to keep the beer from being stale, and you must keep cleaning your Draft Beer Tower and lines daily. This is where the Beer Line Cleaning Kit is a savior for us. It not only matters that your beer tastes fresh but also that the equipment you use for brewing is in good condition and safe for a long time. The aim of this guide is to take you through the 5 basic steps, which are essential to understanding how to use the beer line cleaning kit properly. Through these procedures, you can be sure your draft system will be in top form and serve tasty beer every time.
Step 1: Make your Cleaning Solution
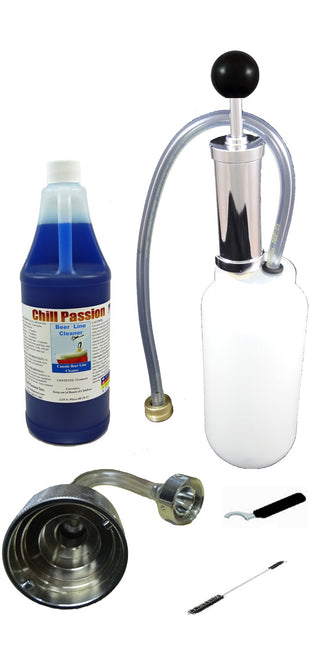
Start by mixing your cleaning solution as instructed in your Beer Line Cleaning Kit instructions. It is important to use a proper proportion of this remedy to make it work without spoiling your system. Afterward, put the mixture in the cleaning tank. First, make sure all taps from your draft systems are closed off.
Step 2: Remove the Kegs and attach the Cleaning Kit.
Considering this, disconnect the Beer Keg Tap from the keg. After that, connect your cleaning kit to the 'keg location'. This will most likely have a corresponding variation in your particular kit and system design, but it is a simple operation in any case. Ensure that everything is fastened tightly to prevent leaks.
Step 3: Apply Cleaning Solution to the System.
Unleash the flow of the Draft Beer Towers by opening the tap of the cleaning solution to wash the lines thoroughly. This funneling removes the dirty beer residue and the bacteria growth from the beer lines' system, making it taste like it should. Wait a bit to allow the solution to seep through and correctly break any buildup.
Step 4: Rinse Thoroughly
After the cleaning solution has had a chance to operate, it is vitally important to wash every part with fresh water. In this step, ensure no cleaning agent is present in the lines. If that happens, it will influence the flavor of your beer. Run a clean water flush through the system, and repeat the process as many times as necessary when it is clear and clean.
Step 5: Contacts and Dial to verify.
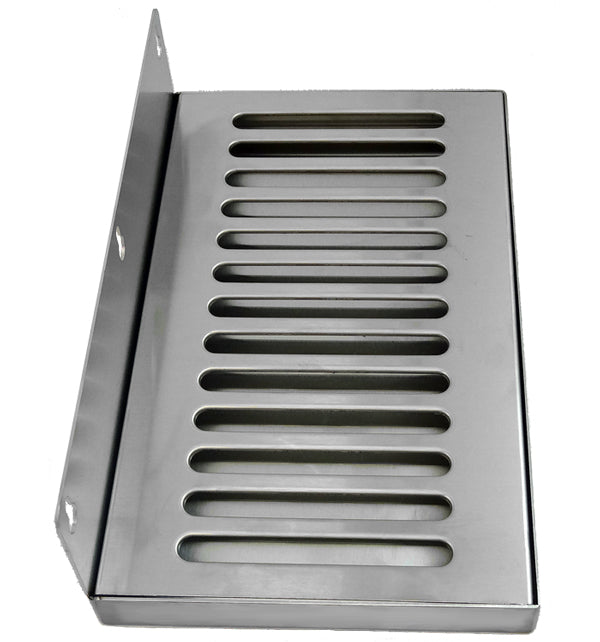
First, after flushing the system, reattach the Beer Keg Tap. Turn on the tap and let the beer flow through the lines to flush out for a few minutes. Use our AI to write for you about any topic! It will give off the remaining water and make your system ready for serving. Make a cleaning job easy by using a Stainless Steel Drip Pan or beer drip tray, which are both easy to clean and maintain.
Conclusion
Nowadays, cleaning beer lines may seem intimidating, but with the right tools and some basic knowledge, it can be a simple and main constituent of a quality draft beer system. One can follow these five simple steps, and with an excellent beer line cleaning kit from a reliable supplier like Draft Warehouse, you can keep your beer tasting great and customers coming back for more. Then, forget the draft system. It’s really worth getting a beer line cleaning kit right now and enjoying your beers to the fullest.

The Wall